Dress: JC Penney
Belt: Vintage (My Grandma's)
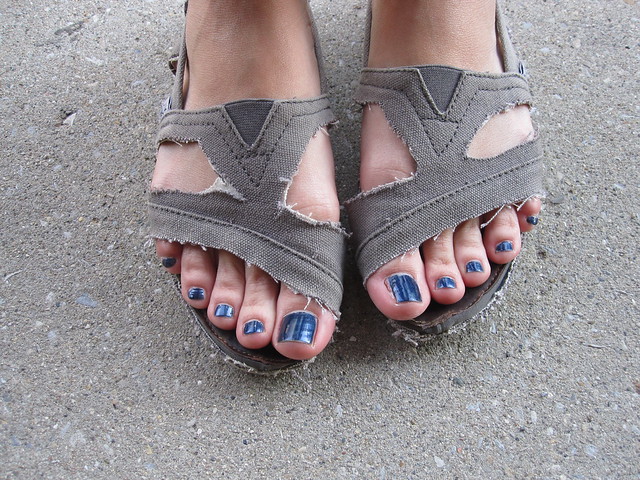
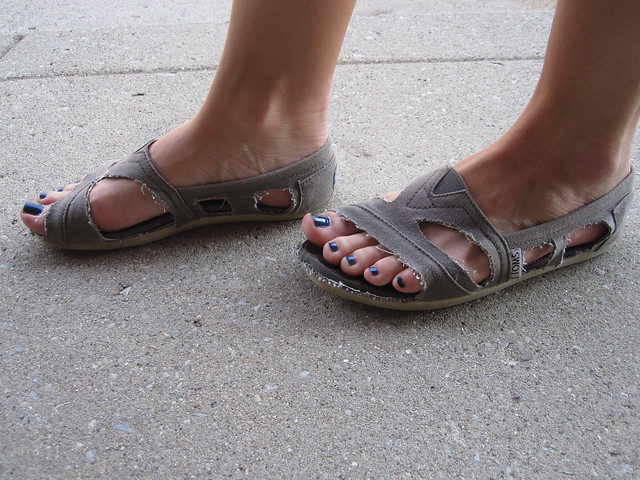
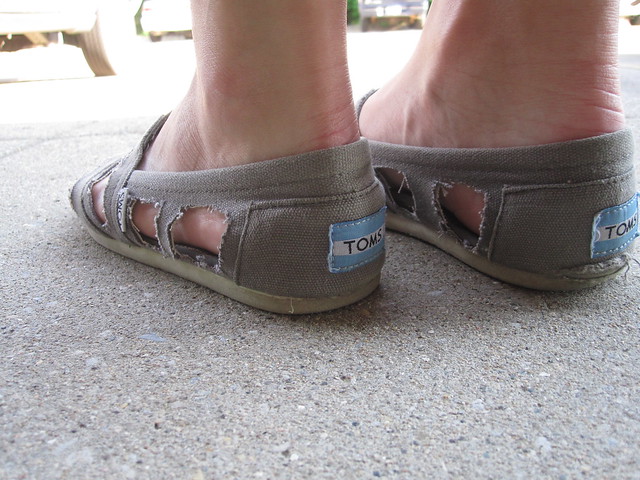
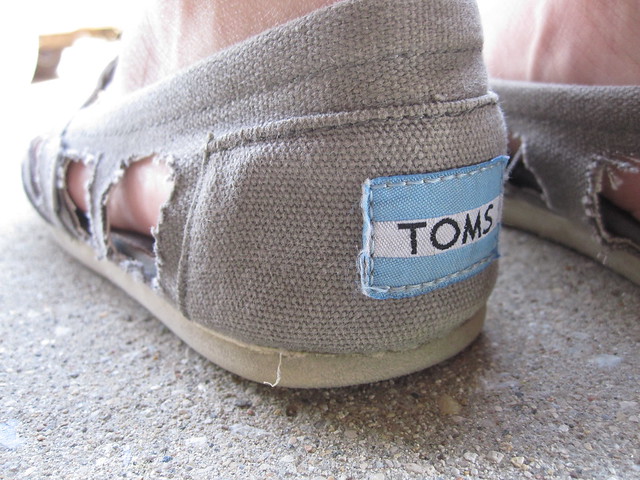
Shoes: DIY TOMS Sandals
Hello everyone! It's been a while since my last blog post. My time between now and Mother's Day has been jam-packed - I've transitioned to a new house for the summer, spent some quality time at my family's lake cottage, and soaked up the sun in Nick's family's new pool! I officially start my internship tomorrow (I am SO excited and nervous!) and it will be my first time working a 9 to 5 job. I've packed my lunch and set my alarm, but I expect it will take me a while to get used to my new schedule.
I wanted to relax as much as I could before my internship started, so I passed the time reading the Dexter book series by Jeff Lindsay (I'm on the 3rd one; they're addicting), rollerblading, and perusing the internet. When I stumbled across these TOMS on Pinterest, I knew I had to do it myself. Scroll down to see my step-by-step process!
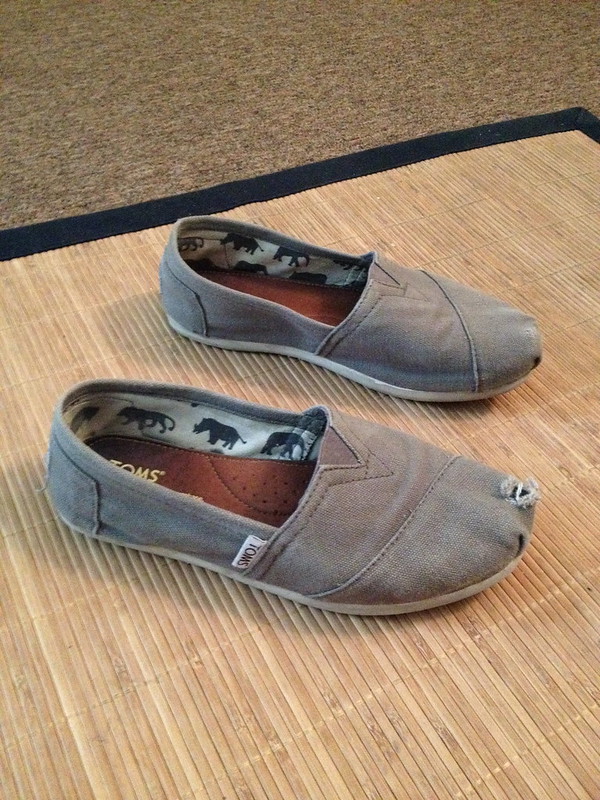 |
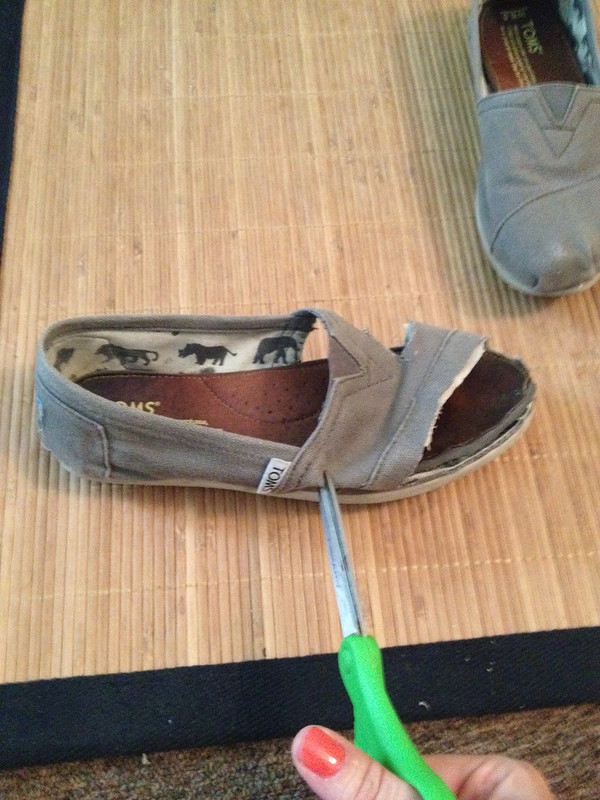
| I started with this pair of TOMS. My toe had poked a hole through the right foot so they were the perfect candidates for this project. |
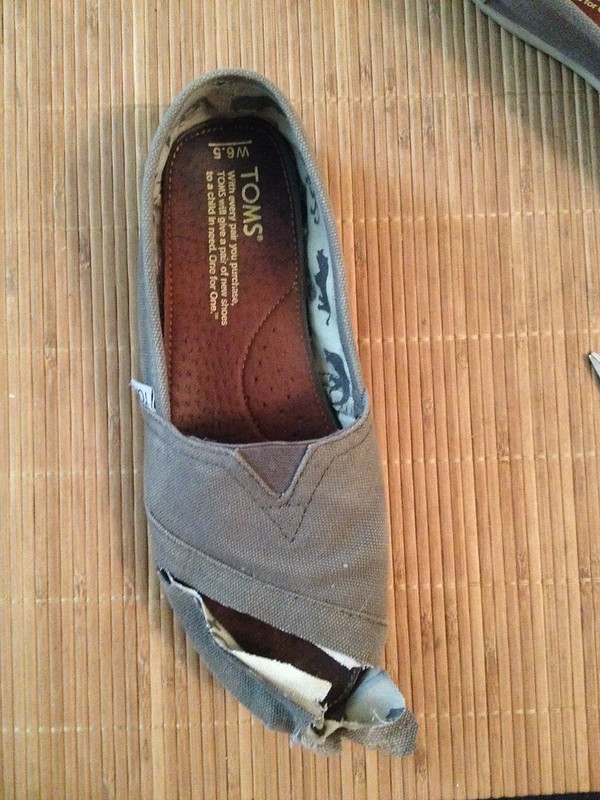 |
| I put my scissors in the hole my toe had created and followed the seam. If you are trying this yourself, make sure you cut through both layers of fabric! |
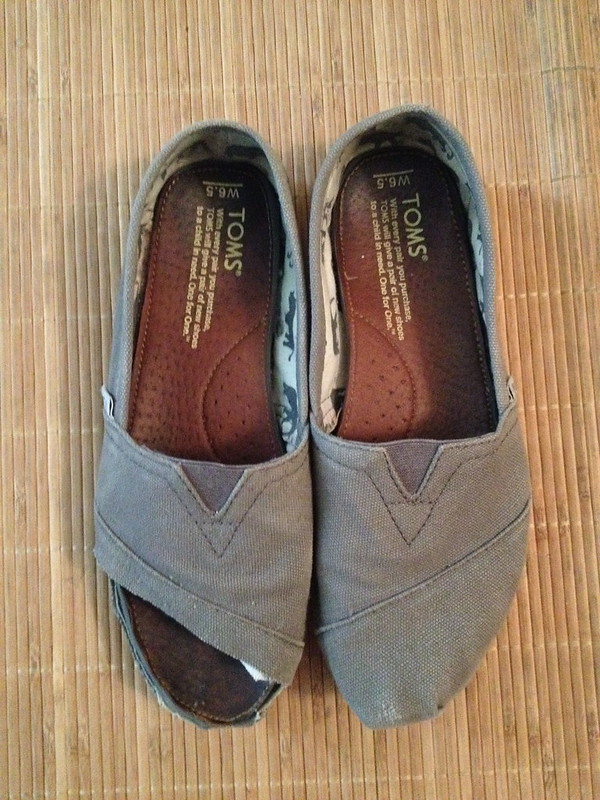 |
| Next, I trimmed off the excess and cut the canvas around the sole of the shoe. |
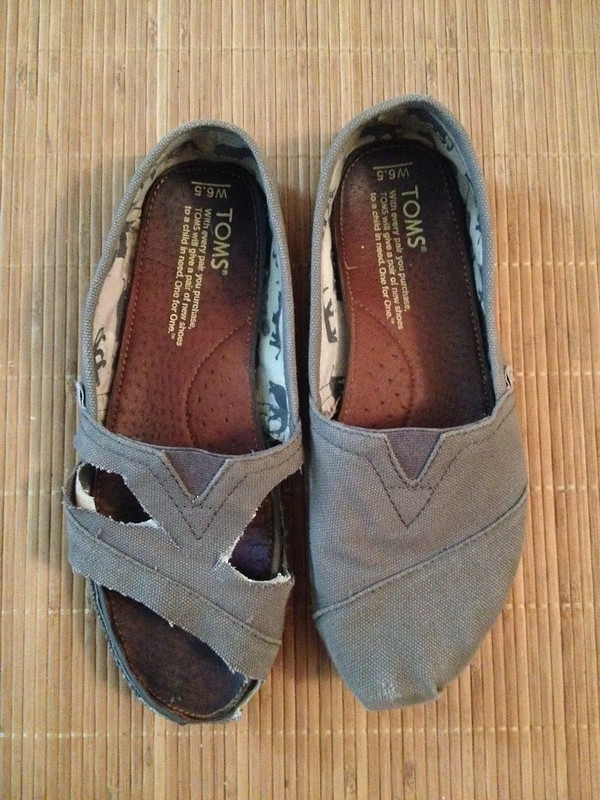 |
| I did this on both sides of the shoe, still following the general pattern of the stitching. |
 |
| Next, I used the same scissor technique to cut two holes in the side panel of the shoe. I repeated this process on the inside panel, and when I was finished, the whole process on the left shoe. |
Voila! My TOMS had transformed into sandals!
One thing I noticed after cutting out so much fabric was that the shoes became pretty loose on my feet. Nonetheless, they're great for the summer and it's a fun DIY project that doesn't take much time or skill. Try it out!

